Showing posts with label DIY. Show all posts

Thursday 21 March 2013

DIY Desafío Telva

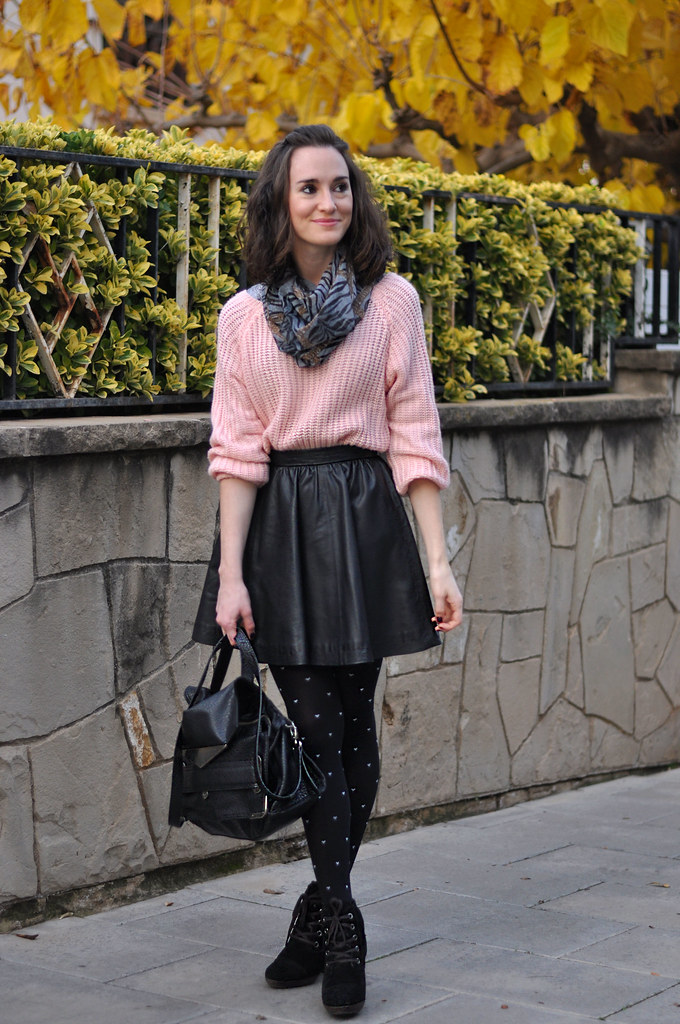
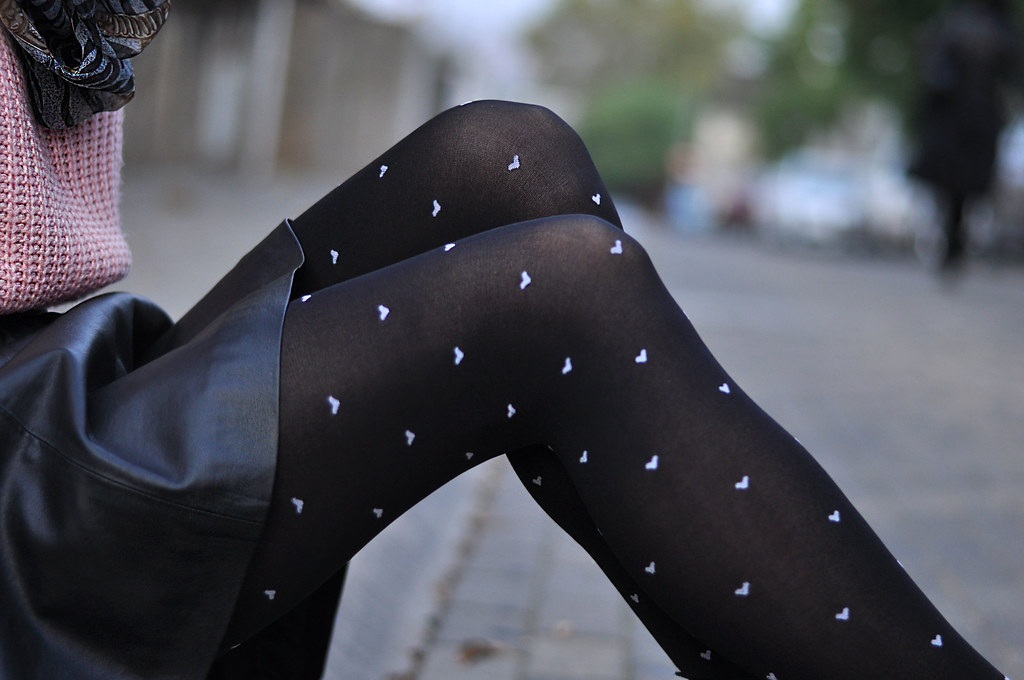
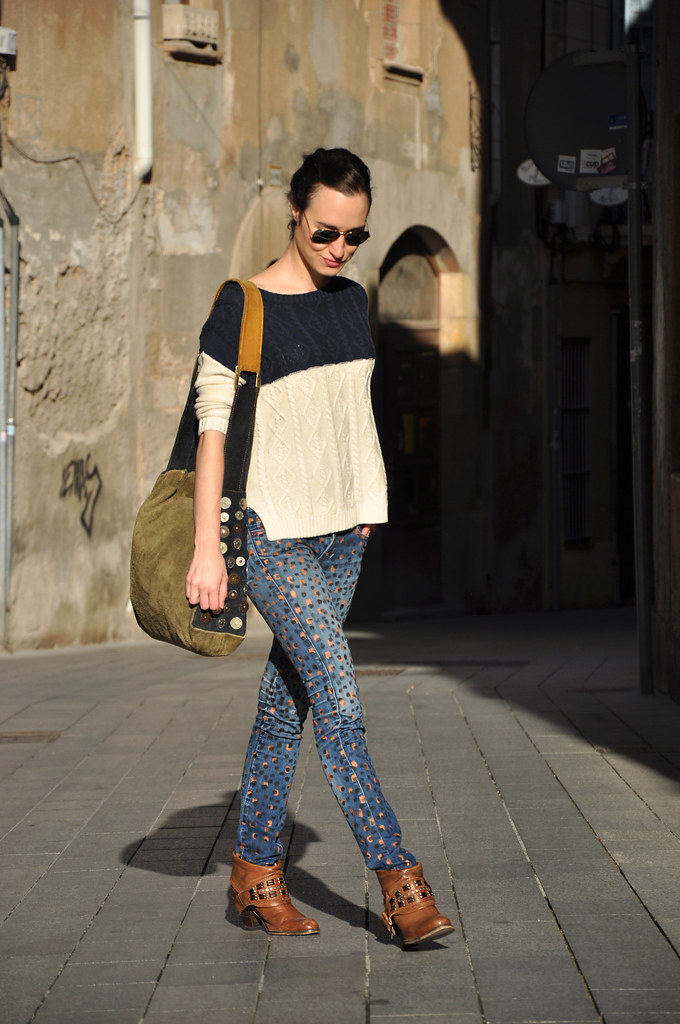
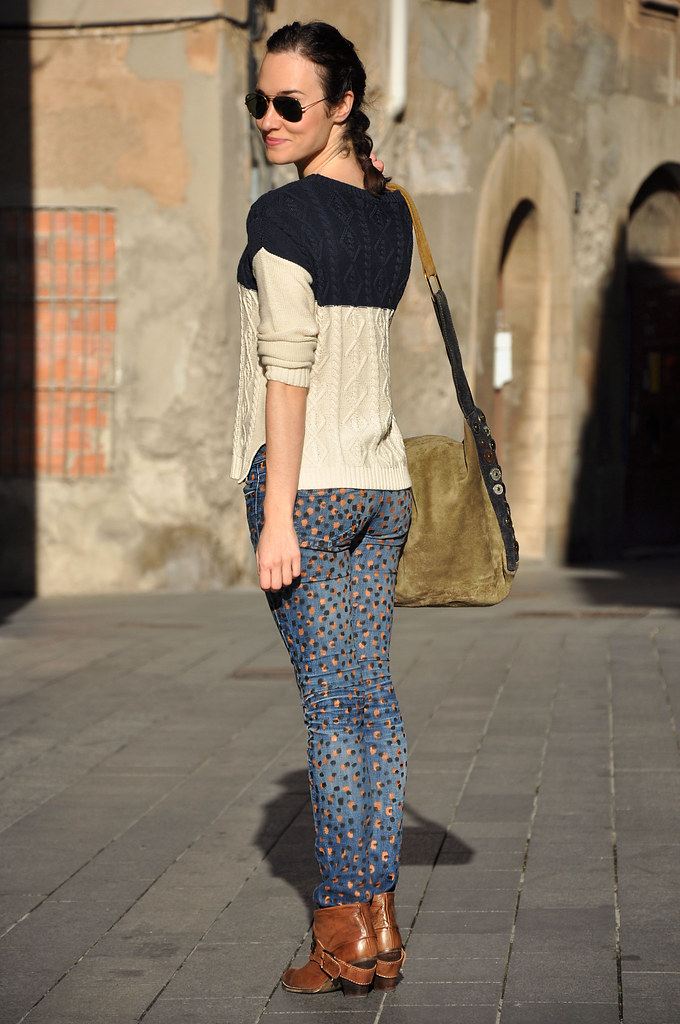
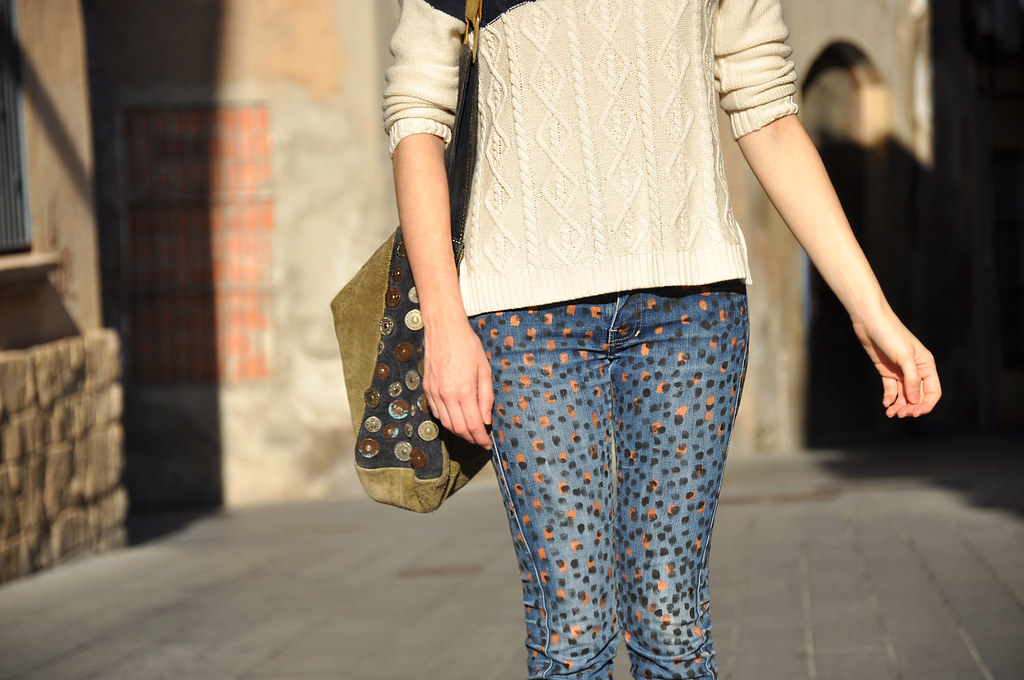
Cuando hace unos días me escribieron de Telva para participar en un desafío DIY para customizar uno de los bonitos clutches que regalan en la revista de este mes, no me lo pensé dos veces. Ya sabéis que soy una loca de los DIY, así que no pude resistirme y empecé a darle vueltas a mi cabecita imaginativa pensando en varias ideas que poder llevar a cabo una vez me llegase a casa el clutch. No sabía cual de ellos me iba a llegar, pero la verdad es que tenía varias ideas en mente que podrían llevarse a cabo con uno u otro. Finalmente me llegó el de estampado de serpiente (¡precioso!) y la verdad es que quería darle un aire muy distinto al del original. Haciendo un guiño a la tendencia Mix&Match en la que en la mezcla de estampados todo (o casi todo) se vale, aquí tenéis la transformación y el resultado final.

Some days ago I was contacted by Telva to be part of a DIY challenge to customize one of the clutchs they are giving as a gift in April's number, I didn't think about it a second; I wanted to be part of it. I had some ideas in mind, but when I received the snake-printed one I decided to make use of the Mix&Match trend; and here you have its transformation and the final result.

materials diy CLUTCH

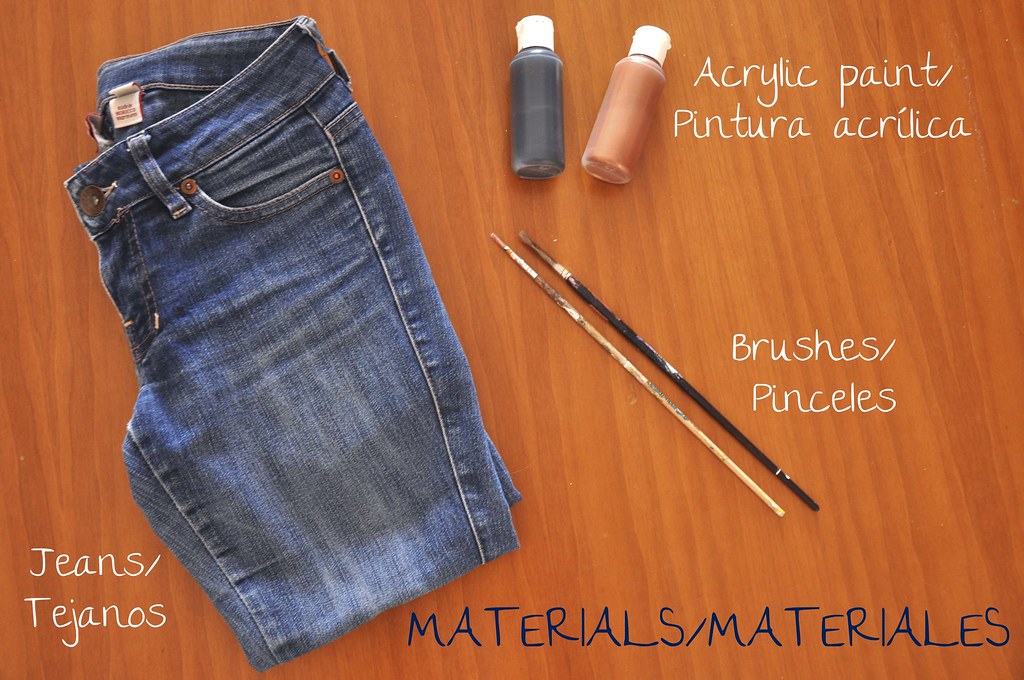
Primero hay que hacer una cuadrícula en la mitad inferior del clutch con la cinta de carpintero. Empezamos por las horizontales, desde abajo, para que quede recto, y vamos subiendo. Para que queden todos los cuadrados de la misma medida, usar la misma cinta en medio de las que vamos a dejar, a modo de referencia y después retirar, como se ve en la imagen. Luego colocamos las verticales, del mismo modo. 

First of all, create a grid with the masking tape in the lower part of the clutch. Start with the horizontal ones and from the bottom to have straight lines. To have all the squares of the same size, use the masking tape to cover the part between to masking tape strips, as can be seen on the pictures. Then, do the same with the vertical ones. 
diy CLUTCH
Empezamos pintando, esta primera tanda todos del mismo color, yo he empezado por el blanco, pero realmente da igual. La dirección de la pincelada siempre desde fuera hacia dentro, para que los bordes queden bien. Dejamos secar y retiramos las tiras de cinta verticales. 

Paint the gaps in the same colour. The brush stroke direction has to be from the outside to the inside of the square, to delimit correctly the borders. Wait until it is dry and remove the vertical tape strips.
diy CLUTCH
Colocamos nuevas cintas verticales tapando los cuadros que ya tenemos pintados, y pintamos los siguientes que quedan al descubierto del otro color, en mi caso azul. Dejamos secar y retiramos las cintas nuevamente, esta vez tanto las horizontales como las verticales, y volvemos a cubrir, dejando al descubierto otras partes sin pintar. Hacer lo mismo sucesivamente hasta tener la mitad inferior del clutch llena de cuadros blancos y azules. 

Stick new vertical tape strips on the places that are already painted. Paint the gaps with the other colour. Wait until it is dry and remove all the strips this time. Now, add new tape strips leaving uncovered places that are not painted. Repeat this step until all the half bottom of the clutch is totally checked in white and blue.
DIY Clutch

¿Os gusta el resultado? Os aseguro que no es nada difícil, solo hay que tener paciencia y dejar secar cada capa antes de retirar la cinta y volver a colocar nueva :)

Do you like the result? It is very simple, you just have to be patient and wait until each square is dry before removing the tape and sticking new one :)

Wednesday 20 February 2013

DIY: Brush-stroked triangle on a T-shirt

Con la mudanza, mis herramientas DIY se han quedado en Barcelona, así que he tenido que ir en busca de nuevas para poder ponerme manos a la obra. Esos momentos en los que estoy liada pintando o cosiendo, creando lo que sea, me evado de todo y me relajo muchísimo; podría pasarme así horas. Esta vez os traigo otra de mis piezas pintadas; eso de dar color a las prendas me encanta y aún tengo muuuuchas ideas en mente, que espero ir enseñándoos poquito a poco.  La de hoy es ena idea sencilla y con un resultado que me ha encantado. Le veo posibilidad en muchos looks de distinto tipo. Estad atentas porque en la próxima entrada os traigo una sorpresa.

With the moving, my DIY tools have been left in Barcelona, so I've had to look for new ones to keep on with my "creations". The moments when I'm painting or sewing, creating whatever, I forget about everything else and just leave myself in that moment of relax and inspiration; I could stay doing this for hours. This time I bring you another of my painted pieces; I love colouring garments and I still have a lot of ideas in mind that I would like to show you. Today's one is a simple idea with a result I've liked a lot. I see lots of possible and different looks with it. 

DIY t-shirt paint
Doblamos la camiseta por la mitad, para que el triángulo que le vamos a pintar quede simétrico. Y colocamos la primera tira de celo desde la costura del hombro hasta un poco más de debajo del pecho, en diagonal. Si en lugar de cinta adhesiva transparente, tenéis cinta de carrocero, mucho mejor, yo es que usé la que tenía a mano. 

Fold the t-shirt in half, so the triangle we are going to paint is symmetric. The first tape fragment is placed from the shoulder to below the chest, diagonally. If instead of transparent tape you've got masking tape, it is even better. 
DIY t-shirt paint
Repetimos el procedimiento con la otra mitad de la camiseta y la desplegamos. Ya tenemos el triángulo de celo. Cortamos el cartón a la medida de la camiseta y lo colocamos dentro, para que la pintura no traspase a la parte de la espalda.

Repeat the procedure with the other half T-shirt and unfold it. We have the tape triangle. Cut the card to the size of the t-shirt and place it inside; so when you are painting, the back of the t-shirt doesn't end up stained. 
DIY t-shirt paint
Empezamos dando pequeñas pinceladas por todo el borde del triángulo de celo que hemos creado, en sentido vertical, todas iguales. Después vamos rellenando del mismo modo la zona interior. 

Start doing short brush-strokes on the border created with the tape, in vertical direction, all the same way and size. Then, fill the rest of the shape with the same short vertical stains. 
DIY t-shirt paint DIY t-shirt paint
Dejamos secar una media hora, retiramos el celo y planchamos para que la pintura se fije bien al tejido y no se vaya al lavarlo. Sí, no se va al lavarlo. Muchas me preguntáis si esta pintura se va, y la verdad es que por mi experiencia no, y la verdad es que tengo ya varias prendas pintadas y no he tenido ningún problema. El color sí que puede acabar aclarándose un poquito, pero ya está. 

Leave the paint dry for 30 minutes, remove the tape and iron the piece; the heat fixes the paint to the fabric and it doesn't go when washing. 
DIY t-shirt paint

En la próxima entrada os la enseño mejor y estad atentas porque viene con sorpresa para las residentes en España o el Reino Unido :) Y, mientras, os dejo con más tutoriales DIY aquí.

In next post I'll show it better to you. And the ones living in UK or Spain, stay tuned, because there's a surprise for you. :) Meanwhile, you can see more DIY tutorials here.

Monday 17 December 2012

Buttons and leopard

Si ayer por la mañana nos anunciaba en Facebook que estaba liada con un DIY, fue acabarlo y salir a la calle con él puesto. Soy una impaciente, no tengo remedio. Dediqué la mañana a coserle botones dorados de distintas formas y tamaños a un jersey viejo que necesitaba una segunda oportunidad y un lavado de cara.   A mi parecer el resultado queda de lo más original y aporta al conjunto mucha personalidad. Lo único que se necesita, además de paciencia, son botones variados en dorado, que yo he ido recopilando durante mucho tiempo. A veces creo que tengo el Síndrome de Diógenes de las cantidad de cosas que llego a guardar sin saber si acabaré dándoles un uso, pero mira, esta vez uso les he dado :P  ¡Que paséis un buena semana!

Yesterday morning I sewed a lot of golden buttons of different shapes and sizes to an old jumper. I couldn't wait to wear it, I'm very impatient, so in the afternoon I went for a walk so happy with my re-newed jumper. Do you like it? I think it is very original and has lot of personality and it is really very easy to do. You only need to have a variety of golden buttons; I've been collecting them for a long time. Sometimes I think I may suffer from hoarding, because I keep lots of things and I don't know if I'm going to use them. Well, at least this time I've used my collection of buttons :P Have a nice week!
Buttons DIY Buttons DIY Buttons DIY DIY buttons Buttons DIY DIY buttons DIY buttons
Chaqueta/Jacket: Choies (aw12)
Jersey/Jumper: DIY
Pitillos/Skinnies: Choies (aw12)
Botines/Boots: Mango

Thursday 29 November 2012

DIY: Heart elbow patches

Tal y como os dije, hoy os traigo el tutorial DIY del jersey que llevaba en el look de ayer, aquí. Como veréis es muy muy simple y en las imágenes de ve muy claro.

As I told you, Today here you have the DIY tutorial of the elbow patches of the jumper I wore on yesterday's look, here. It is very easy and on the images the process is very well visualized.

DIY DIY
1. Dibujar medio corazón en una cartulina doblada. 
2. Cortar la forma. 
3. Fijar la forma foblada a un trozo de fieltro, también doblado, y cortar. 
4. Fijar los corazones de fieltro al jersey con alfileres y coser con puntadas pequeñas. 

1. Draw a half heart shape on a folded card
2. Cut the shape
3. Fix the folded shape to a folded piece of felt with pins and cut it.
4. Fix the felt hearts with pins to the jumper and sew it with small stitches. 
DIYY aquí tenéis el look con este romántico jersey :)
And here you have the look with this romantic jumper :)

Wednesday 28 November 2012

Hearted

Hoy os traigo un look de esos un poco empalagosos, con corazones, rosa y falda de vuelo. Sin embargo, creo que el cuero de la falda, los botines y el bolso, le restan algo de dulzura al conjunto, o esa era mi intención. La otra tarde necesitaba un ratito de relax y lo empleé cosiéndole estas coderas tan románticas al jersey. ¿Os gusta el resultado? Mañana os traigo el tutorial DIY, que es muy fácil, y a ver si os animáis a hacerlo. ¡Estad atentas! :) 

Today's look is a bit oversweetened, with hearts, pink and a full skirt. However, I've tried to take up some of its sweetness adding leather, the boots and the bag. Some afternoons ago I needed some relax and I sewed these romantic elbow patches to my jumper. Do you like them? Tomorrow I'll show you  how you can do it on a tutorial. Stay tuned! :)
DIY DIY DIY DIY DIY DIY DIY
Jersey/Jumper: Sheinside + DIY
Falda/Skirt: H&M
Medias/Tights: Forever21 (aw12)
Botines/Booties: Mango

Tuesday 16 October 2012

My printed pants

No he tardado nada en estrenarlos, el mismo día que los acabé me los puse. Ya visteis en el post de ayer lo sencillo que es pintarlos y como veis  el resultado es ideal. Por lo menos a mí me encanta. Ellos por sí solos ya destacan, así que con un jersey de tonos neutros, unos botines y un maxibolso, ideales para el día a tía.  Para la noche, con una camisa negra o blanca semitransparente y unos taconazos...y  lucir palmito:)

The same day I finished my DIY trousers I wore them. In yesterday's post you could see how easy it is to paint your jeans and, as you can see in today's look, the result is ideal. I really love them. They don't need too much, they are the main character of the look. I wore them with a simple jumper, boots and a XL bag for a daily look. At night, they match perfectly with a sheer white or black shirt and high heels. 
EmerJa design EmerJa design EmerJa design EmerJa design EmerJa design EmerJa design EmerJa design
Jersey/Jumper: Mango (sales)
Jeans: DIY
Bolso/Bag: Vintage
Botines/Boots: Zara (old)

Monday 15 October 2012

DIY: Printed Jeans

Como ya anunciaba en Facebook, este fin de semana me he puesto manos a la obra con un nuevo DIY, el que os traigo hoy. Llevaba tiempo queriendo pintarme unos pantalones largos y el otro día encontré estos tejanos viejos y decidí que ellos iban a ser los elegidos. La verdad es que me costó decidir qué hacerles. Tenía unas cuantas ideas en la cabeza. Acabé decidiéndome por pintar una especie de estampado animal por toda la prenda. El resultado la verdad es que me gustó y el proceso es bastante sencillito, aunque, como siempre, la paciencia es esencial para este tipo de proyectos, ya que al haber de pintar todo en pantalón tardas un rato. 

As I announced of Facebook, this weekend I've been DIYing. Today you have the tutorial. I 've been to paint some pants for a while, and when I found these jeans in my closet I knew this was the opportunity to do it. It was difficult for me to decide what to paint. I had different ideas, but finally I decided to cover my jeans with some sort of animal print. I really like the result and the process is pretty easy.

DIY
Empezamos dando pinceladas cortas en el tomo más clarito y luego, una vez esté seco o semi-seco, vamos aplicando las pinceladas con la pintura más oscura, hasta cubrir bastante el pantalón, para que se vea bien repleto de pequeñas manchas. 

Start applying small brushstrokes all over the garment with the lightest paint, when it is dry or almost dry, apply the darkest paint until covering quite part of the fabric. It has to be all covered with small spots. 
DIY
Una vez la pintura esté seca, hay que plancharla. El calor hace que la pintura se adhiera a la tela y no se vaya al lavarla. Y ahora, ya está, ya tenéis vuestros tejanos con estampado animal listos para llevarlos!

Once the paint is dry, you have to iron it. The heat fixes the paint to the fabric and it won't leave when you wash it. Now your animal print jeans are ready to be worn! 
DIY
El resultado queda muy bien, y puestos quedan muy originales. En este post tenéis un look completo con ellos, para haceros algunas idea de cómo llevarlos. Ya véis que es un proceso fácil. Ya me diréis si os animáis.

The result is amazing and original. On this post you have a look with them to get some ideas about how to wear them. You see that the process is really easy so, if you dare to do this DIY, just tell me! 

Monday 9 July 2012

Oasis

Hace un par de posts os enseñaba mi pequeña-gran colección de shorts DIY y hoy os traigo un look con uno de ellos, los últimos que he hecho. Shorts rojos, un poco de pintura acrílica blanca, pincel finito y paciencia son los ingredientes para este DIY. A mí el resultado me encanta. ¿Y a vosotras? 

Two posts back I showed you my DIY shorts collection and today one of them are the main garment in my look. Red shorts, some white acrylic paint, a thin brush and patience are the ingredients for this DIY. I love the result. Do you like it?
Image Hosted by ImageShack.us

Blusa/Blouse: Zara (old)
Shorts: H&M + DIY
Bolso/Bag: Pull&Bear (old)
Botines/Boots: Zara (old)
Gafas/Sunglasses: Romwe

Image Hosted by ImageShack.us

Friday 29 June 2012

My DIY shorts collection

Como ya sabéis, soy adicta a los DIYs y más aún si se trata de cortar pantalones, pintarlos, coserles cosas, añadirle tachuelas o meterlos en lejía. La verdad es que pobre el pantalón que se cruce en mi camino un día de limpieza de armario, sobre todo esos que llevo tiempo sin ponerme; acaban todos pasando por la tijera. 
Pues hoy os traigo mi pequeña-gran colección de shorts DIY. La verdad es que tengo algunos otros entachuelados por el armario, y alguno más que ha sufrido la tijera, pero estos son los más especiales. Algunos de ellos ya los habéis visto por aquí, con tutorial incluido. Los rojos son mi última "creación" y pronto los veréis en un look. 

As you know I'm a DIY addict and even more if it is about cutting trousers and customizing them. Every time I tidy up my wardrobe and I find a pair of trousers I haven't worn for long...cut, cut, cut. Today I show you my little-big DIY shorts collection. I have some more, but these are the special ones. I love them! The red ones are my lastest creation, you'll see them soon in a look. 
Image Hosted by ImageShack.us

1. Lejía para un efecto tie-dye y unas cuantas tachuelas / Bleach for a tie-dye effect and some studs
2. Estrellitas estampadas / Hand printed stars
3. Shorts tribales / Tribal shorts (tutorial & look, aquí y aquí)
4. Shorts con encaje / Shorts with embroidered ribbon (tutorial  & look, aquí y aquí)
5. Unas crucecitas blancas pintadas sobre shorts rojos / White crosses painted over red shorts

Image Hosted by ImageShack.us


Sunday 3 June 2012

DIY shorts: the look

A pesar de que hayamos tenido un domingo pasado por agua (¡vaya chaparrón está cayendo ahora, mientras escribo este post!), el buen tiempo ya está aquí, con sus locuras, eso sí. Tenía ya ganas de estrenar mis shorts DIY (tutorial aquí), así que, aprovechando el sol radiante de estos días atrás, los saqué del armario a dar un paseo. Una camisa en color crudo, sandalias planas y un maxi bolso hacían el resto. El bolso es de los más cómodos que he tenido y además cabe de todo, yo que soy de llevarlo hasta arriba de cosas. Un look romántico y sencillo con el que me siento muy a gusto y que es ideal para ir diciendo hola al verano. Aish, qué ganas tengo de acabar ya los trabajos de la universidad e irme a la playita. ¡Este año aún no la he pisado!

Today a romantic and simple look with my DIY shorts (tutorial here) worn with a nude shirt, flat sandals and a maxi bag. Although now it's pouring outside, last days the weather has been warm and sunny, so this kind of looks are ideal to say hello to summer. I'm just thinking of finishing my University projects and go to beach, I haven't seen it yet this year!
Image Hosted by ImageShack.us


Camisa/Shirt: Sheinside
Shorts: DIY (tutorial here)
Sandalias/Sandals: Oysho (old)
Bolso/Bag: David Jones
Image Hosted by ImageShack.us
Además, os recuerdo que hoy es el último dia para participar en el sorteo de Romwe SORTEO de Romweclick aquí.

By the way, I remind you that here you can still participate on our new Romwe GIVEAWAY, today is the last day.